The Short Answer
NVIS, or near vertical incidence skywave, is an HF radio technique that provides reliable communication across roughly 50 to 500 kilometres without repeaters, satellites or line of sight, by reflecting the signal almost vertically off the ionosphere so it returns to earth over a wide area beneath the antenna. Because the wave departs at a very high elevation angle, close to vertical, it covers everything from directly below the antenna outward with no skip zone, the silent ring that ordinary long distance skywave leaves behind. That makes NVIS the natural choice for a reliable regional or emergency net across rugged or remote country, which is exactly the problem so much of Australia presents. It works in the lower part of the HF band, usually between about 2 and 10 MHz, and the operating frequency has to sit just below the critical frequency of the ionosphere at the time. That is why a working NVIS frequency is higher by day and lower by night, and why frequency management is the skill that separates a net that always gets through from one that keeps dropping out.
How NVIS Works
Every ionospheric path is a balance between the frequency you transmit and the state of the ionosphere overhead. The layer that does the work for NVIS is the F2 layer, a band of ionised gas roughly 200 to 400 kilometres up. It reflects an HF signal back to earth as long as the frequency is at or below the critical frequency, written foF2, which is the highest frequency the ionosphere sends straight back down when a signal is fired vertically. Transmit below foF2 and the wave reflects. Transmit above it and the wave passes through the layer and is lost to space.
NVIS uses that behaviour on purpose. The antenna radiates most of its energy at elevation angles between about 70 and 90 degrees, so the wave meets the ionosphere close to vertical, reflects, and returns to cover the ground beneath it. For angles that are near vertical but not exactly vertical, the usable ceiling sits a little above the critical frequency, related by the secant of the angle at the reflection point:
MUF ≈ foF2 · sec(φ)
For true NVIS work that secant term stays close to one, so the critical frequency is the number you plan around and you keep your operating frequency a safe margin below it.
The daily rhythm of the ionosphere is what forces the frequency to move. Sunlight ionises the upper atmosphere, so the critical frequency climbs through the morning, peaks in the early afternoon, and falls after sunset as the ions recombine in the dark. A frequency that reflects at two in the afternoon will pass straight through the F2 layer at two in the morning, because by then foF2 has dropped below it. There is a second effect lower down. The D layer, around 60 to 90 kilometres up, does not reflect HF but absorbs it, and it absorbs lower frequencies far more heavily than higher ones. The D layer is a daytime feature that fades away after dark. So by day you work as high as you sensibly can, close to but below the critical frequency, to slip above the worst of the absorption, while at night the D layer is gone but the critical frequency has fallen, which pushes you back down to a lower band.
The payoff is coverage with no gap in it. A signal fired at a low angle skips off the ionosphere and lands hundreds of kilometres away, leaving a silent ring, the skip zone, between the short local ground wave range and that first distant bounce. In hilly country the skip zone is often exactly where your other sites sit. NVIS fires the energy up steeply instead, so the single hop returns close to the transmitter and blankets everything underneath, from directly below out to several hundred kilometres, with no dead ring. Because the signal arrives from almost overhead, ranges, gorges and heavy vegetation barely shadow it, which is the terrain independence that makes NVIS so useful where the map is anything but flat. For the way low angle skywave reaches much further, see what is the best frequency for long range communication.
Choosing an NVIS Frequency
Frequency selection is the heart of running an NVIS net. Take the current critical frequency for your area, allow a margin below it, and operate there. A common target is the optimum working frequency, often written FOT, at about 85 percent of the maximum usable frequency:
FOT ≈ 0.85 · foF2
The margin matters because the ionosphere is never perfectly steady. Sit right on the critical frequency and a small dip in ionisation, or a change in your reflection angle, can lift you above the ceiling, so the signal goes over the top and vanishes. Around 85 percent keeps the reflection reliable while staying high enough to dodge daytime absorption.
Take a net that needs to cover stations across a region. Suppose a sounding, or a prediction, puts the midday critical frequency at foF2 of 6.5 MHz. The optimum working frequency is about 0.85 times 6.5, roughly 5.5 MHz, so a channel in the 5 to 6 MHz region is a sound daytime choice. It reflects cleanly and sits high enough to clear most of the D layer absorption while the sun is up. Run the same net at two in the morning and the critical frequency might have fallen to 4.0 MHz. The optimum working frequency is now about 3.4 MHz, so the net should shift down near 3.5 MHz. The daytime 5.5 MHz channel would be well above the night time critical frequency of 4.0 MHz, so it would pass straight through the ionosphere and leave the net silent. This is the lesson every HF operator learns early. One frequency cannot hold an NVIS net around the clock, and moving up by day and down by night is what keeps everyone in contact. Tools that predict the critical frequency for your place and time turn this from guesswork into a plan, which is where the HF frequency planner and a live HF condition dashboard earn their keep.
NVIS Antennas: Why You Mount Them Low
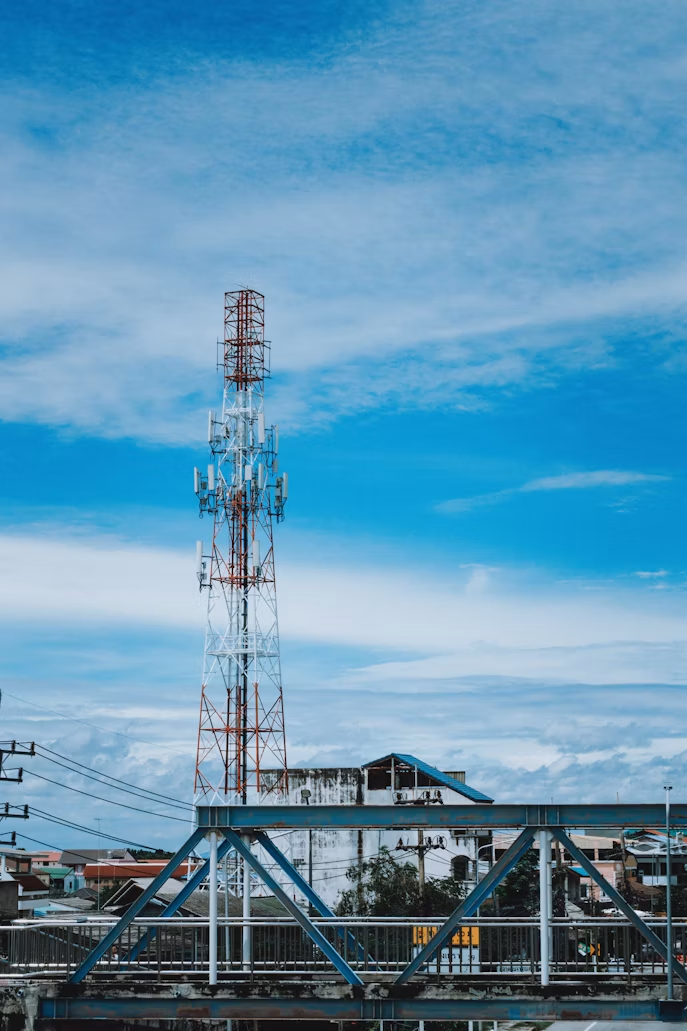
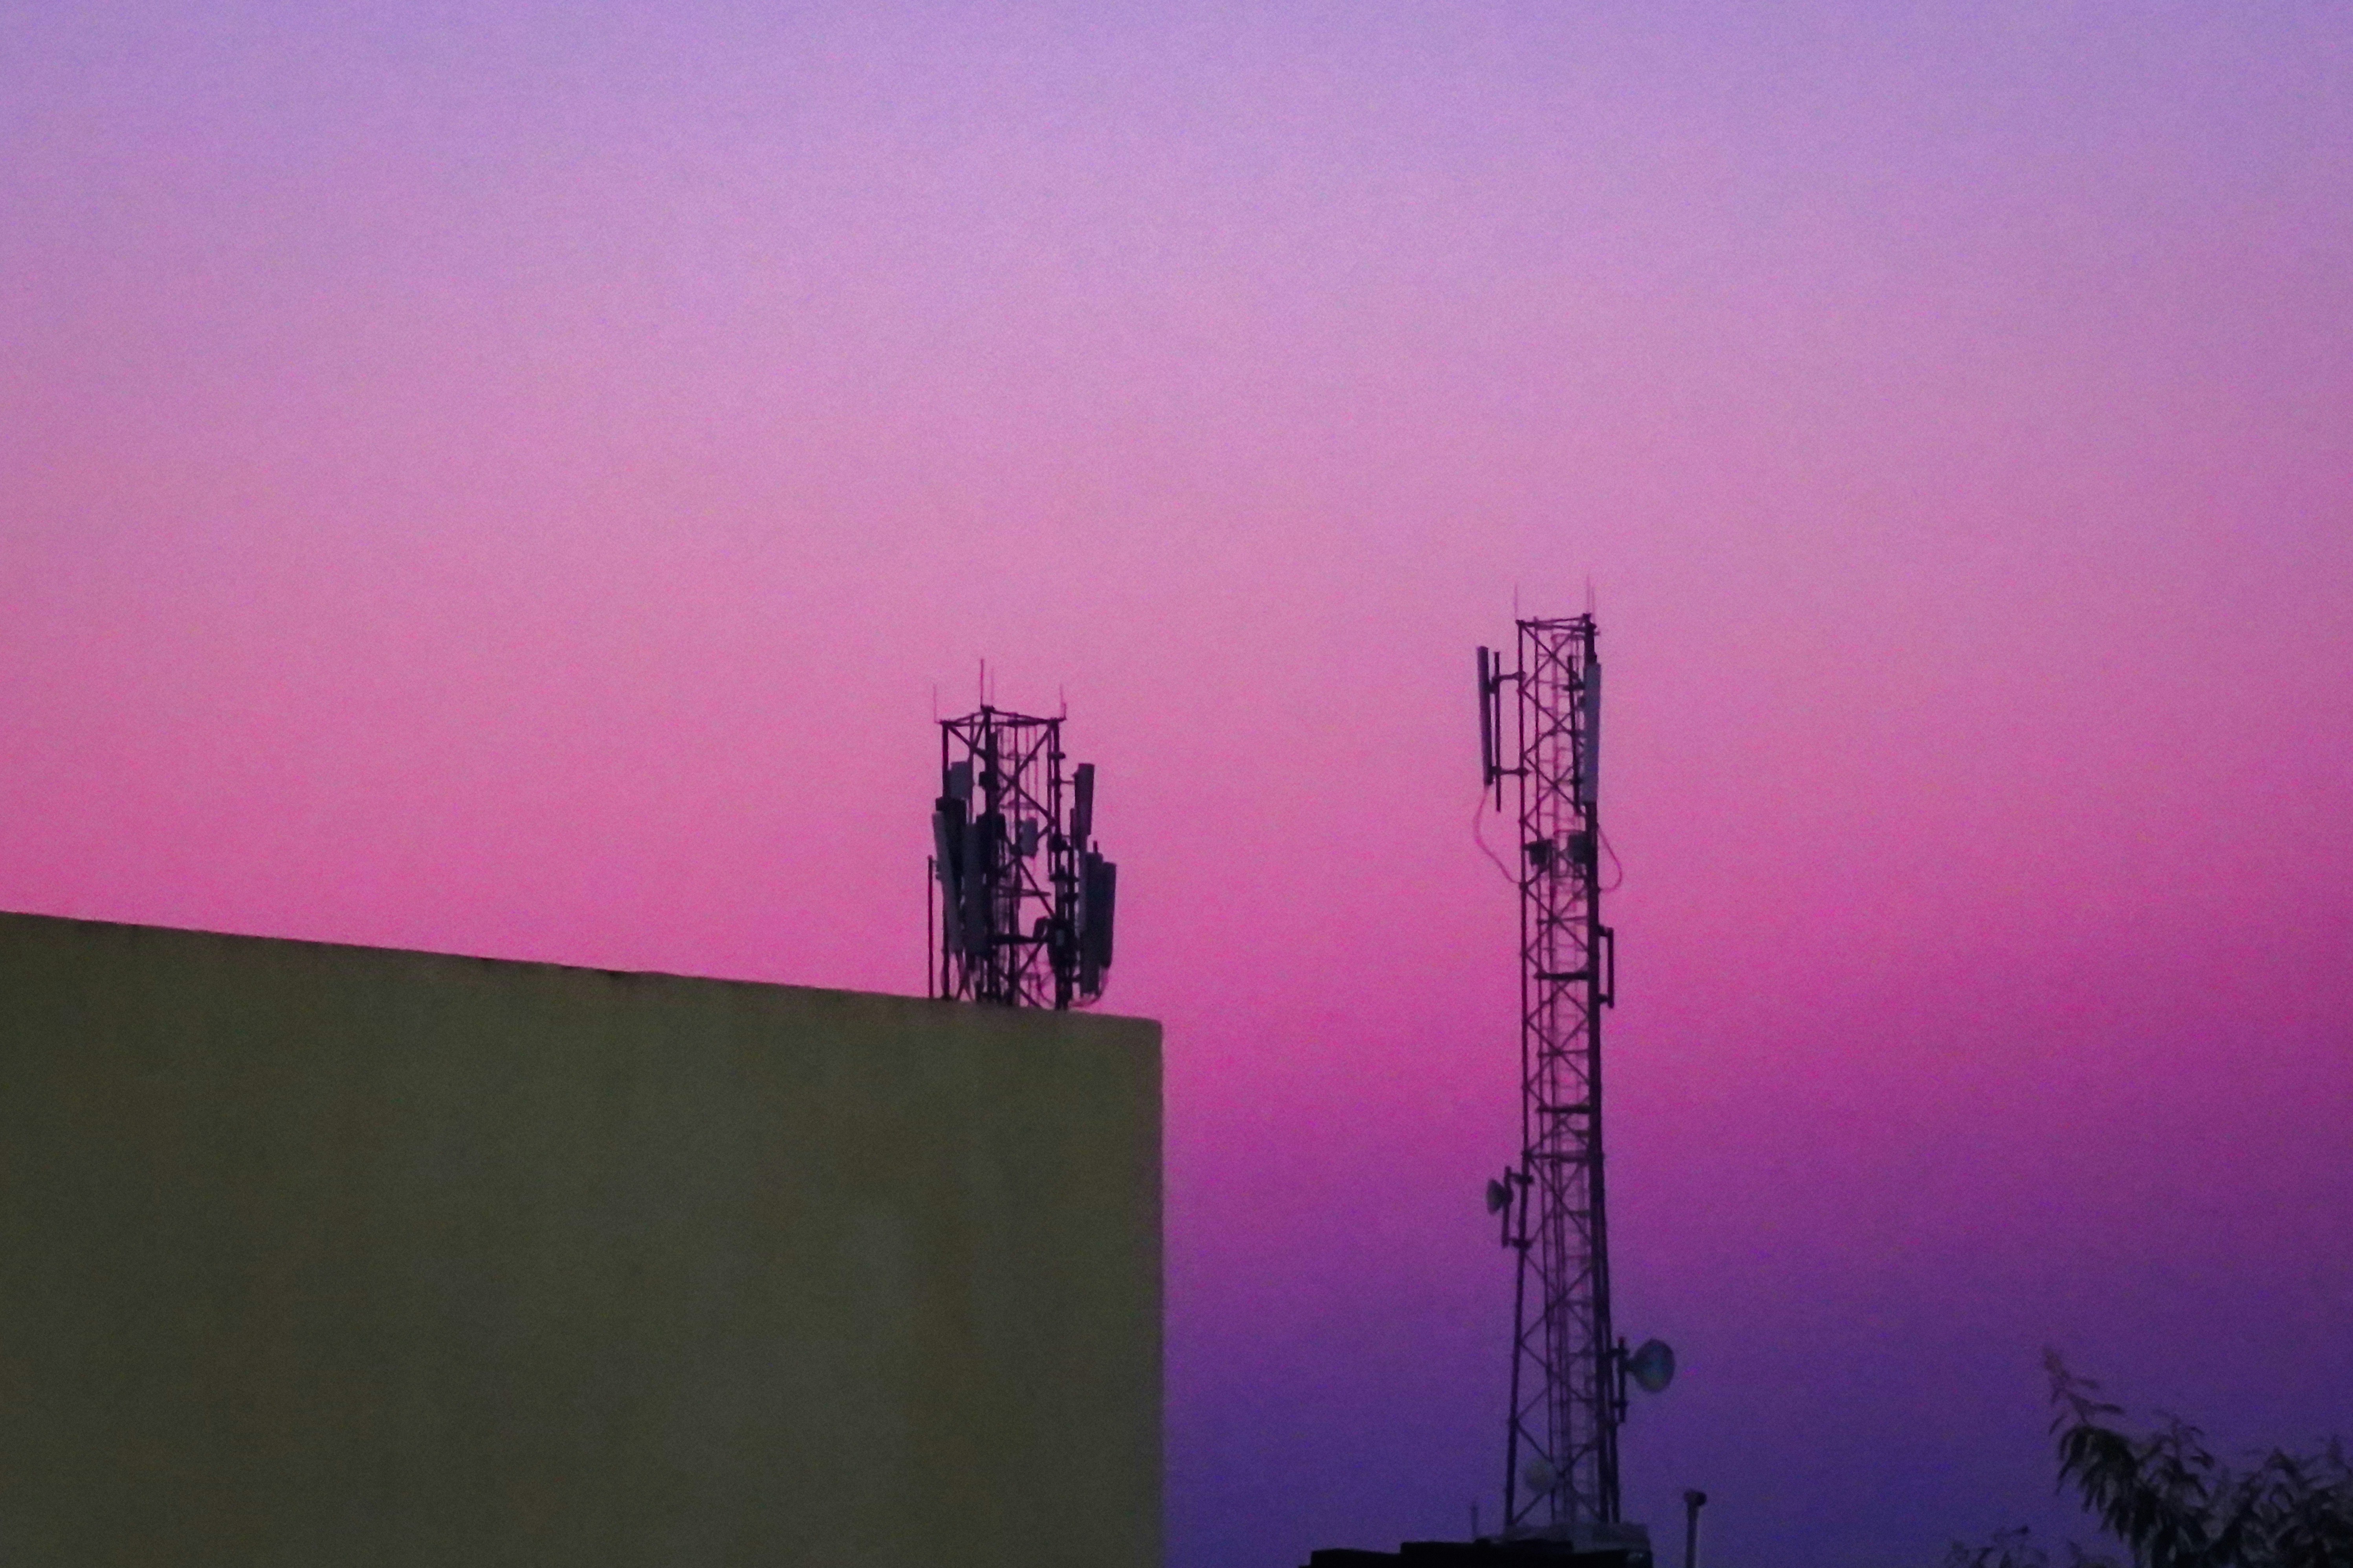
An NVIS antenna has one job, which is to push as much energy as possible straight up, and that leads to a design that looks wrong to anyone used to chasing distance. The best NVIS antenna is a horizontal wire mounted deliberately low.
The reason is ground reflection. A horizontal antenna works together with its own reflection in the earth, and the height above ground sets the elevation angle where the signal is strongest. Mounted low, at roughly one tenth to one quarter of a wavelength up, the direct and ground reflected waves reinforce each other overhead and the antenna radiates a broad, high angle lobe, which is exactly what NVIS needs. Raise the same antenna past about a quarter wavelength and the pattern breaks into lower angle lobes with a growing null straight up, which is excellent for long distance skip but wrong for NVIS. The height that helps a long haul link is the very thing that ruins a near vertical one.
In practical numbers, the classic NVIS antenna is a horizontal half wave dipole or an inverted V at a modest height. On the 80 metre band, where a wavelength is about 80 metres, a fifth of a wavelength is around 12 to 16 metres, yet many field deployments run between 3 and 6 metres and still perform well, trading a little efficiency to ground losses while keeping the pattern firmly overhead. In poor soil, some operators lay a reflector wire or a ground screen beneath the antenna to improve the ground reflection, though the benefit depends on the soil conductivity and the geometry.
Two further points matter. Polarisation counts, because a horizontal antenna radiates the high angle energy NVIS wants, whereas conventional vertical mobile whips are generally inefficient for NVIS compared with a low horizontal wire. That is why a vehicle carrying only a vertical HF whip struggles on a regional net until the whip is tilted well over or a low horizontal wire is deployed, although some purpose built military and commercial systems do deliberately exploit the high angle component of a loaded whip. Second, because the net changes frequency between day and night, an NVIS antenna is usually paired with an automatic tuner or built as a broadband design, so a single wire covers the whole 2 to 10 MHz range without re-cutting. Settling on a sensible element and height for the bands you plan to use is quick work in the antenna selector.
Where NVIS Fits in Regional and Emergency Australia
Australia is a near perfect case for NVIS, because it combines enormous distances, sparse infrastructure and terrain that regularly defeats line of sight systems. Mobile coverage thins quickly beyond the towns, VHF and UHF need repeaters on high sites and clear paths that ranges and gorges deny them, and satellite carries a cost and an infrastructure dependence that is not always welcome in a crisis. NVIS sidesteps all of it. Unlike a repeater network, NVIS does not depend on high sites, backhaul links or functioning infrastructure. It needs only a transceiver, a battery and a length of wire, and it delivers reliable voice and low rate data across a few hundred kilometres of difficult country regardless of what sits between the stations.
That resilience is why NVIS underpins so much regional and emergency communication. State emergency services, rural fire and flood teams, and remote area operators lean on HF precisely because it keeps working when the mains fails and the mobile towers go dark, which is exactly when communication matters most. Mining and exploration crews use it to reach camps and vehicles spread across a lease that no single repeater can cover. Pastoral stations and outback travellers have relied on HF for generations, a tradition that runs from the early Royal Flying Doctor Service through to the national four wheel drive radio network and the volunteers of the emergency communications community. In every case the appeal is the same. NVIS gives area wide, terrain independent coverage from simple, rugged gear that a small team can set up in minutes.
NVIS Licensing and Bands in Australia
NVIS is a propagation technique rather than a band or a licence class of its own, so you operate within whatever frequencies you are authorised to use, administered in Australia by the ACMA. For the background on how the regulator shapes what you can transmit, see what is the ACMA and why it matters for RF engineering.
For licensed amateurs, the natural NVIS bands are 80 metres, from 3.5 to 3.7 MHz, and 40 metres, from 7.0 to 7.3 MHz, with the narrow 60 metre allocation near 5.3 MHz covering the daytime window between them. Between 80 metres by night and the 40 or 60 metre range by day, an amateur station can hold an NVIS net around the clock. Commercial, government and emergency users work on HF channels assigned to them under an apparatus licence, chosen in the same lower HF region so that the near vertical path behaves the same way. The rule is the same for everyone. Choose your channels from the frequencies you are licensed to use, then apply the day and night frequency discipline within that set. The difference between an apparatus licence and a class licence is covered in understanding apparatus and class licensing.
Common NVIS Mistakes
- Mounting the antenna too high. Chasing height for range is the most common error. Past about a quarter wavelength the overhead lobe splits and a null forms straight up, the one direction NVIS depends on. Keep the wire low.
- Running one frequency all day. A channel that works at noon will pass over the top of the ionosphere at midnight once the critical frequency falls. Follow it up by day and down after dark, and carry at least a day and a night frequency.
- Relying on a vertical whip for area coverage. A conventional vertical mobile whip radiates at low angles and is generally inefficient for NVIS. On a vehicle, tilt the whip well over or deploy a low horizontal wire instead.
- Working too low a frequency by day. The daytime D layer absorbs the lower bands heavily, so sitting on 80 metres at midday can be far weaker than moving up towards the critical frequency. Push up while the sun is out.
- Expecting broadband performance. NVIS carries voice and low rate data reliably, but a narrow HF channel will not deliver the throughput of a microwave link. Match the expectation to the medium.
- Ignoring space weather. A solar flare can trigger a sudden ionospheric disturbance that absorbs HF for minutes to hours, and a geomagnetic storm can suppress the critical frequency for days. Check conditions before you rely on the path.
Frequently Asked Questions
What does NVIS stand for? NVIS stands for near vertical incidence skywave. The name describes the geometry, because the signal is sent up at a near vertical angle, reflects off the ionosphere as a skywave, and returns to earth over a wide area beneath the transmitter. It is a technique for short to medium range HF communication, not a band or a piece of equipment.
What frequencies are used for NVIS? NVIS uses the lower HF band, generally between about 2 and 10 MHz. The frequency has to sit just below the critical frequency of the ionosphere at the time, so it moves higher by day, often into the 5 to 7 MHz region, and lower at night, typically around 3 to 4 MHz. Matching the frequency to current conditions is the core skill of NVIS operation.
How far does NVIS reach? NVIS gives continuous coverage from directly beneath the antenna out to typically 500 kilometres, and sometimes 600 to 800 kilometres under favourable ionospheric conditions and antenna geometry. Its defining feature is that there is no skip zone, so unlike long distance skywave it leaves no silent ring between the local ground wave range and the first bounce, which makes it ideal for covering a whole region rather than reaching a single distant point.
What is the best antenna for NVIS? The best NVIS antenna is a horizontal wire, such as a half wave dipole or an inverted V, mounted low at about one tenth to one quarter of a wavelength above ground. That low height makes the ground reflection reinforce the signal overhead, which is the direction NVIS needs. An automatic tuner or a broadband design lets one antenna cover both the day and the night frequencies.
Why does the NVIS frequency change between day and night? The critical frequency of the ionosphere depends on how strongly the sun is ionising the upper atmosphere. It rises through the day, peaks in the early afternoon, and falls after sunset as the ions recombine. Since an NVIS signal must stay below that critical frequency to reflect, the usable frequency follows it, higher by day and lower by night, or the signal passes straight through the ionosphere and is lost.
Does NVIS have a skip zone like normal skywave? No, and that is the point of it. Conventional low angle skywave leaves a skip zone, a silent ring between the end of the ground wave range and where the first shallow bounce lands. NVIS fires the energy up steeply so the single hop returns close to the transmitter and covers everything underneath, which removes the skip zone and gives unbroken area coverage.
Do I need a licence to use NVIS in Australia? Yes. NVIS is a propagation technique, not a licence free service, so you must hold the appropriate authorisation from the ACMA and operate only on frequencies you are permitted to use. Licensed amateurs typically use the 80, 60 and 40 metre bands, while commercial, government and emergency users work on channels assigned under an apparatus licence. The technique is the same in either case, applied within your own authorised frequencies.
Does NVIS still work during a solar storm? It can be degraded. A solar flare can cause a sudden ionospheric disturbance that briefly raises daytime absorption and blacks out the lower HF frequencies for minutes to hours, while a geomagnetic storm can depress the critical frequency and disturb the F2 layer for a day or more. Checking current and forecast conditions before you rely on the path, on something like the HF condition dashboard, and keeping alternative frequencies ready, is the practical way to stay ahead of space weather.
Key Takeaway
NVIS is high frequency radio aimed almost straight up, so the signal reflects off the ionosphere and returns to cover a wide area with no skip zone and no need for line of sight. It lives in the lower HF band, works because the operating frequency is kept just below the ionospheric critical frequency, and demands that you move higher by day and lower by night as that critical frequency rises and falls. The antenna is a horizontal wire mounted deliberately low so its energy goes overhead, and the payoff is reliable, terrain independent coverage out to several hundred kilometres from simple, rugged equipment. For the vast distances and difficult country of regional Australia, and for the moment a disaster takes the towers and the grid down, that is precisely the capability that keeps a net on the air.
Build it in noIM₃
Getting NVIS right comes down to choosing the frequency that matches the ionosphere at the time you need it. The HF frequency planner works out usable frequencies for your path, time of day and conditions, so you can set day and night channels with a real margin below the critical frequency. The HF condition dashboard shows the current state of the ionosphere and space weather at a glance, so you know before you transmit whether the band is open or a disturbance is closing it down. And the antenna selector helps you settle on a low horizontal wire and the right height to keep the pattern pointed where NVIS needs it, straight up.